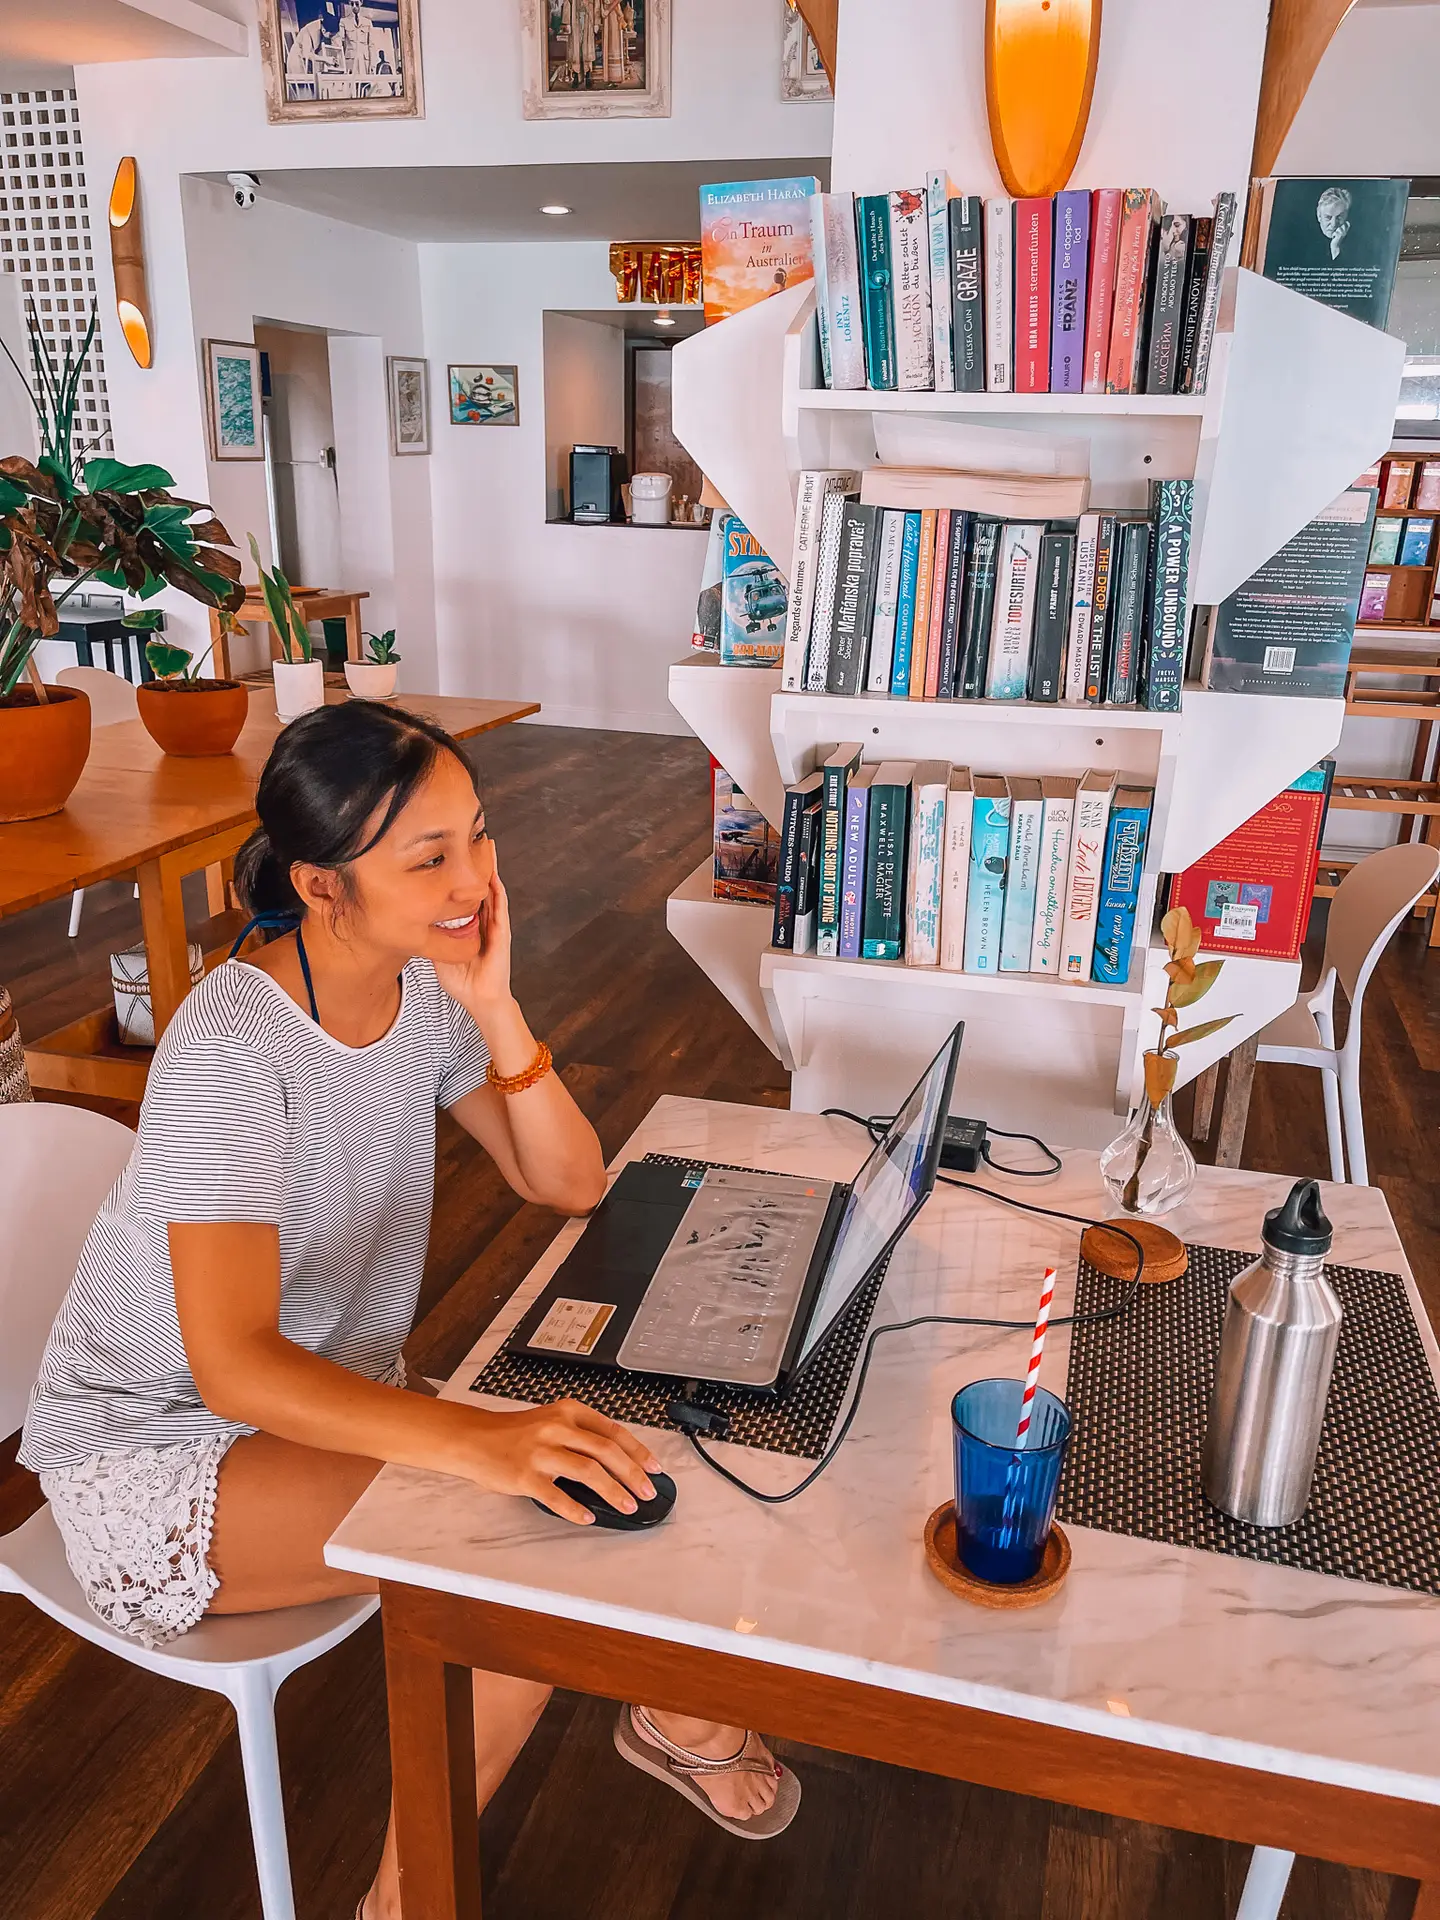
After much research and planning, if you are finally ready to embark on that first solo nomading trip…
here are some things that you may want to prepare ahead of time:
1. Visa for the country you are visiting
One of the first few things you need to prepare is to apply for any visas that you might need for the country that you are visiting. If possible, I would suggest visiting a nearby familiar country where you do not need this. It will save you the money and just make things easier for you on your first solo nomad trip.
However, of course, if you are staying longer than the normal visa duration (usually 30-90 days), you will likely need another type of visa that you can usually apply for online. Some requirements may be needed, such as bank statements, proof of income, passport copy, photograph and so on. These days, digital nomad visas are often very common and have a duration of 1 year. Of course, the requirements are all different for each country, but it is mostly about your proof of income per month.
2. Credit card for air miles
If you foresee yourself travelling more frequently, you may want to apply for a credit card that can earn you air miles. You will earn points for your credit card expenses and can convert these into air miles of your choice for any linked frequent flyer programme. This is more common for people from the US or Canada.
In Singapore, I applied for the HSBC Travel One card. While I personally think their customer service is below par when I was dealing with them at their branches, the credit card itself has been great. It includes a lot of perks like 4 times airport lounge access per year (via DragonPass), Entertainer subscription and bonus miles earned for each new sign up. The number of points earned per international expenditure is also quite high – you get 2.4 miles (or 6x rewards points) for every SGD$1 spent overseas. With these points, you can convert them into airmiles with your favourite frequent flyer programme such as Krisflyer or also hotel membership programmes like Marriot Bonvoy.
While I don’t really advocate for credit card spending, it was very helpful to have these travel perks on my year-long journey. I eventually converted my points earned and redeemed a Business Class flight back from Osaka to Singapore on Singapore Airlines, which was a nice reward for my trip. What I really enjoyed was the access to the fast track security screening lane, airport lounge and priority boarding and baggage, which meant less time going through the airport and waiting around for my flight and luggage. For those who are frequent flyers, these perks really come in handy and save time!
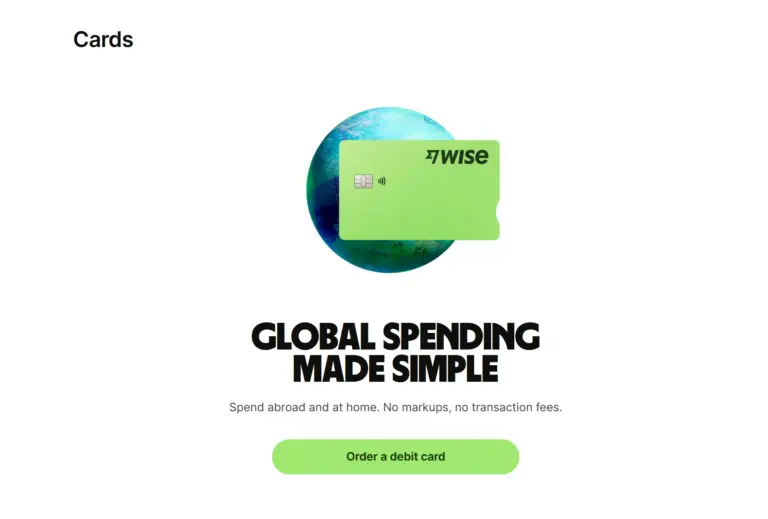
Source: Wise.com
3. Wise card for ATM withdrawals
If you are nomading abroad, one of the essential things you will need is CASH! At some point, you will likely run out of the cash you’ve brought and need to withdraw cash from the ATMs overseas. This is where cards like Wise come in. With Wise, you get up to 2 free withdrawals of up to SGD$350 per month from the overseas ATMs, so you do not have to pay any ATM fees for using an international card. They also have low currency conversion fees, so that helps you get more bang for your buck. You can also use your Wise account to transfer money internationally with lower fees. I’ve used this for payment for accommodation or to pay back international friends and it’s been very helpful.
If you want to open a Wise account, here’s my referral link.
In Singapore, we also have the Youtrip card that works in a similar way. You can enjoy zero fees for ATM withdrawals and you can also use the card to convert multiple currencies with low fees and great exchange rates.
There is another option, which is the Revolut card. However, I could never use this card overseas at ATMs for whatever reason, so I would NOT RECOMMEND it!
4. E-sim and e-sim compatible mobile phone
I highly recommend getting an e-sim compatible phone for your trip. E-sims are a lifesaver now, as you can connect immediately when you touch down in a new country and have instant connectivity. This is super helpful when it comes to finding your accommodation, booking your ride, navigating your way and also safety reasons that you have internet connectivity in a new country. E-sims are great also, because there is no physical sim card and you do not have to worry about losing or misplacing them.
My favourite e-sim company is Airalo. It is super easy to use, as I just scan the QR code and it gets installed automatically. You do need to check that your phone is compatible with e-sims – this is the reason that I also bought my second hand iPhone 12. My iPhone also can accept physical sims as well as e-sims, so it is very convenient to have accessibility to both types of sim cards. Some phones have space for multiple physical sim cards too – that would be helpful if you want to keep your phone number from back home, as well as adding in new physical sims when you are travelling.
My routine is to buy a few days or a one-week e-sim card and then replace it with a local sim card, which is often cheaper. I also keep my local number on my other old phone with my Singapore sim card (using Circles Life, where it’s a monthly pay-as-you-go, no contract plan) for receiving messages like OTPs for my banking admin from back home.
Alternatively, if you are only travelling within a nearby region, you can consider getting a regional roaming mobile plan from your home country’s provider. This works well for shorter term visits, but honestly e-sims and local sims are usually very affordable and convenient now.
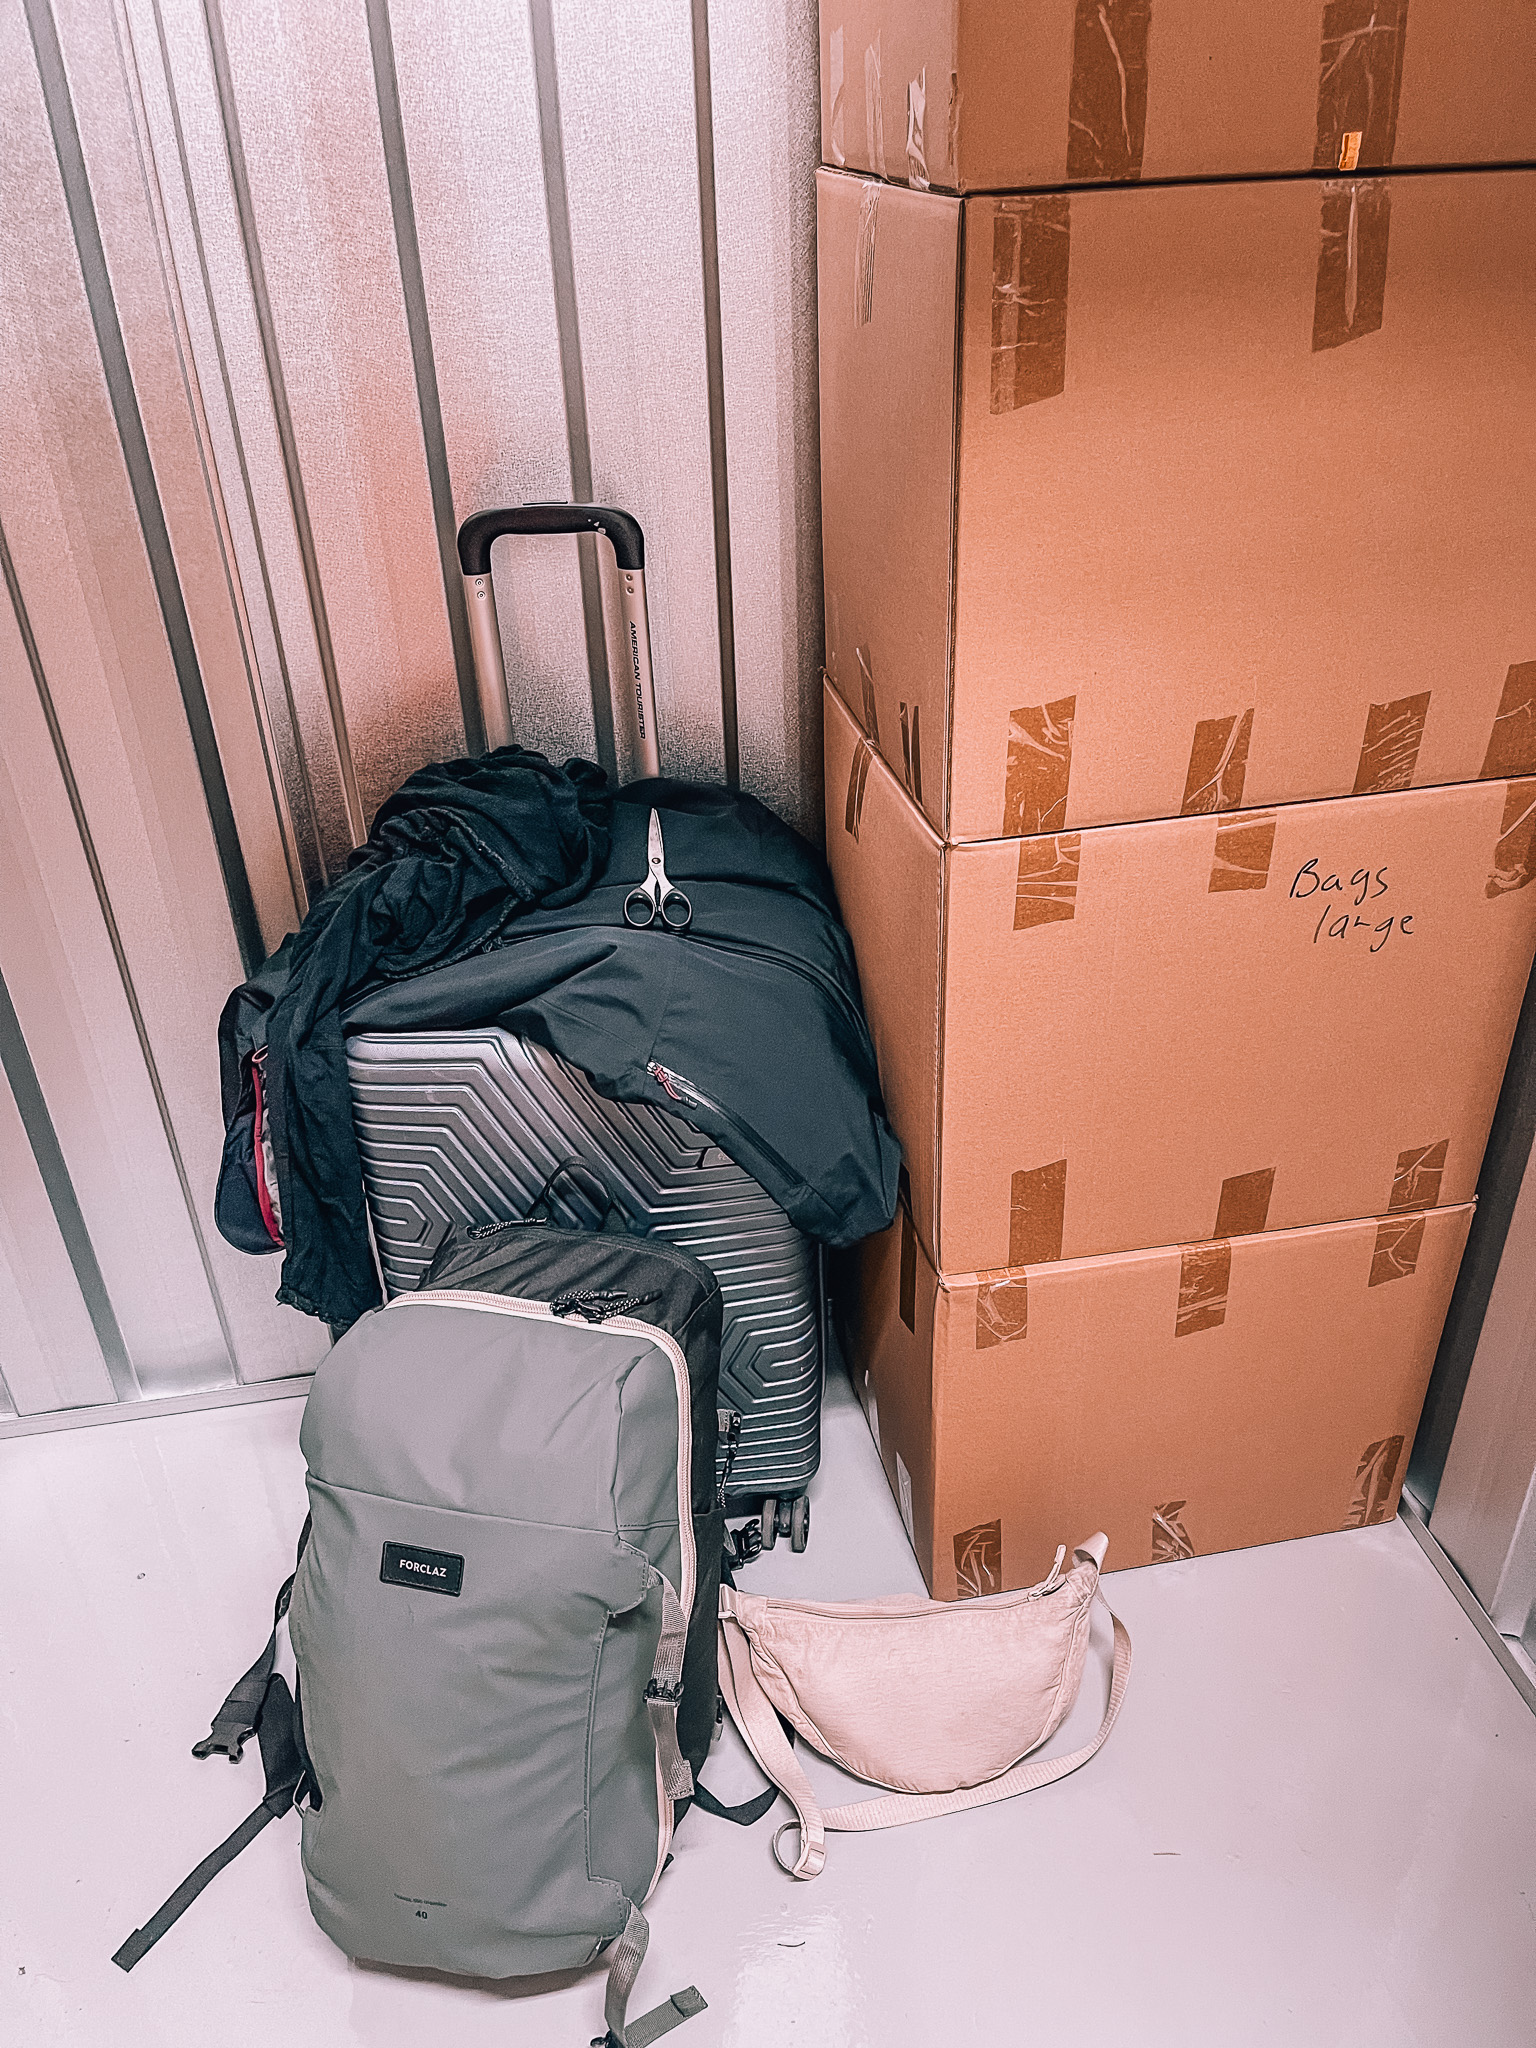
5. Storage space
If you are going away for a long time, you may want to look into selling off most of your belongings and putting the remaining items in a storage space. If you are lucky to have someone’s house you could store your things for free, that would be great. If you don’t, there are many storage spaces located around the world, where you can pay a fee to store your stuff.
I have a storage locker in Singapore where I pay a monthly fee for and it’s like my walk-in closet where I go back to repack my clothes for different climates. It cost me around SGD$100+ per month, but you can get cheaper rates depending on the size of the space you want to rent.
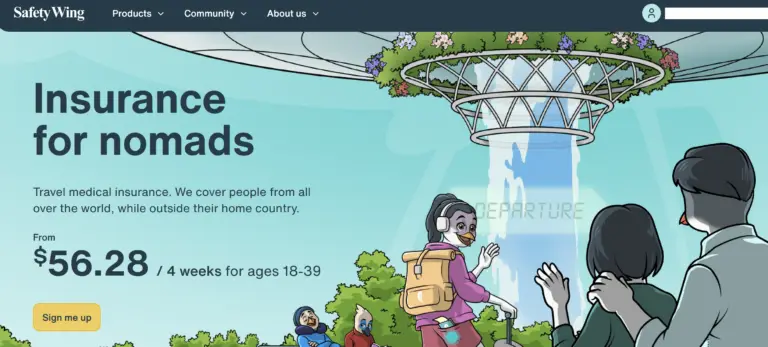
Source: Safetywing
6. Travel insurance
One of the essential things that you need if you are nomading full-time is travel insurance. If you are travelling for a shorter period of time (within 90 days), you can consider getting travel insurance from your country. I bought FWD insurance for the ASEAN region when I did shorter trips within South East Asia. You can buy either single trip insurance or an annual plan. However, even for the annual plan, there are restrictions of trips up to 90 days and they must depart from your home country.
For nomading full-time, you will probably need something like nomad travel insurance from SafetyWing, which covers you globally. If you have travel delays, lost luggage, get into an accident or need medical help abroad, Safetywing covers all these incidents. You may think you never need it, but so many things can go wrong when you’re full-time travelling and it is comforting to have something in place to protect you.
Bonus: APEC business travel card
If you are a business owner or travel frequently for business from Singapore or any APEC country, you may consider getting an APEC business travel card. This card allows you pre-approved and fast-track entry into APEC countries (like ASEAN, Japan, Australia, Mexico, Peru, US etc) as a business visitor. You do not have to pay for any additional visa fees, get additional days to stay in the country and also access to express immigration lanes at the airport.
The application takes several months and depends on which countries you get approval for, as they will all be processed per individual country. It costs only SGD$100 and is valid for 5 years. You do need to show proof that you have an ACRA or business registration, but it is possible to even sponsor yourself as a sole proprietor. Otherwise, if you are an employee, you need to get your company to sponsor you.
From what I have experienced, it’s been a great benefit to skip the lines at immigration and there are way less questions being asked by officers as you are already pre-cleared to enter the country.
Trial Run:
You may be packed and ready to go, but where should you travel to?
Here’s my answer: You may want to visit your intended destination for a short time before you go full-time nomading there to familiarise yourself and do a trial run, if you have the time and resources. Before I started full-time nomading, I did one- to three-month long stints in Bali and Thailand.
If not, I suggest going somewhere familiar and nearby to your home country that you like and you’ve already visited before with friends or family.
By choosing the right country, you can possibly have a much easier time to start off with.
- If not, I recommend staying in a coliving or hostel, which will give you the easiest introduction to the nomad lifestyle in that country.
- Join a coworking space as a member and join their events.
- Join Facebook/Whatsapp groups for nomads to find community. Search under ‘(country) digital nomads’ to find relevant Facebook groups. From there, you can ask to join any local whatsapp group chats that they may have.
- Make sure you have enough money to last you for the trip and get you home.
- Be prepared for anything and everything to go wrong, but remember to take it easy with yourself.
- ENJOY!
Remember you can always GO HOME if you are homesick or you don’t like it! They are all valid responses and it does not mean it’s a failure. You have perhaps just figured out your answer as to whether you really enjoy this nomading lifestyle or not. It is not for everyone and it is not always that wonderful! In reality, you may find it lonely, tiring or just burn out! It is actually very normal, you may need to adjust your travel style and pace as needed.
For my first nomading trip abroad, I went to Canggu, Bali for a month back in 2018. I had been to the island several times before with other friends, so I roughly knew the place and how to get around. However, I had not been to Canggu itself and did not know anyone there. I booked my accommodation at an affordable guesthouse and also posted on the Canggu Nomad girls group to find connections. I also went to Dojo Bali (a coworking space) and worked out of there on some days. I also had 3 friends from Singapore drop by and we hung out in Bali. I was never really that alone the whole time I was there and it was close enough for me to go back home anytime if needed or if I changed my mind. Luckily I stayed for the whole month and loved it! That fateful trip years back jump started my solo nomading journey.