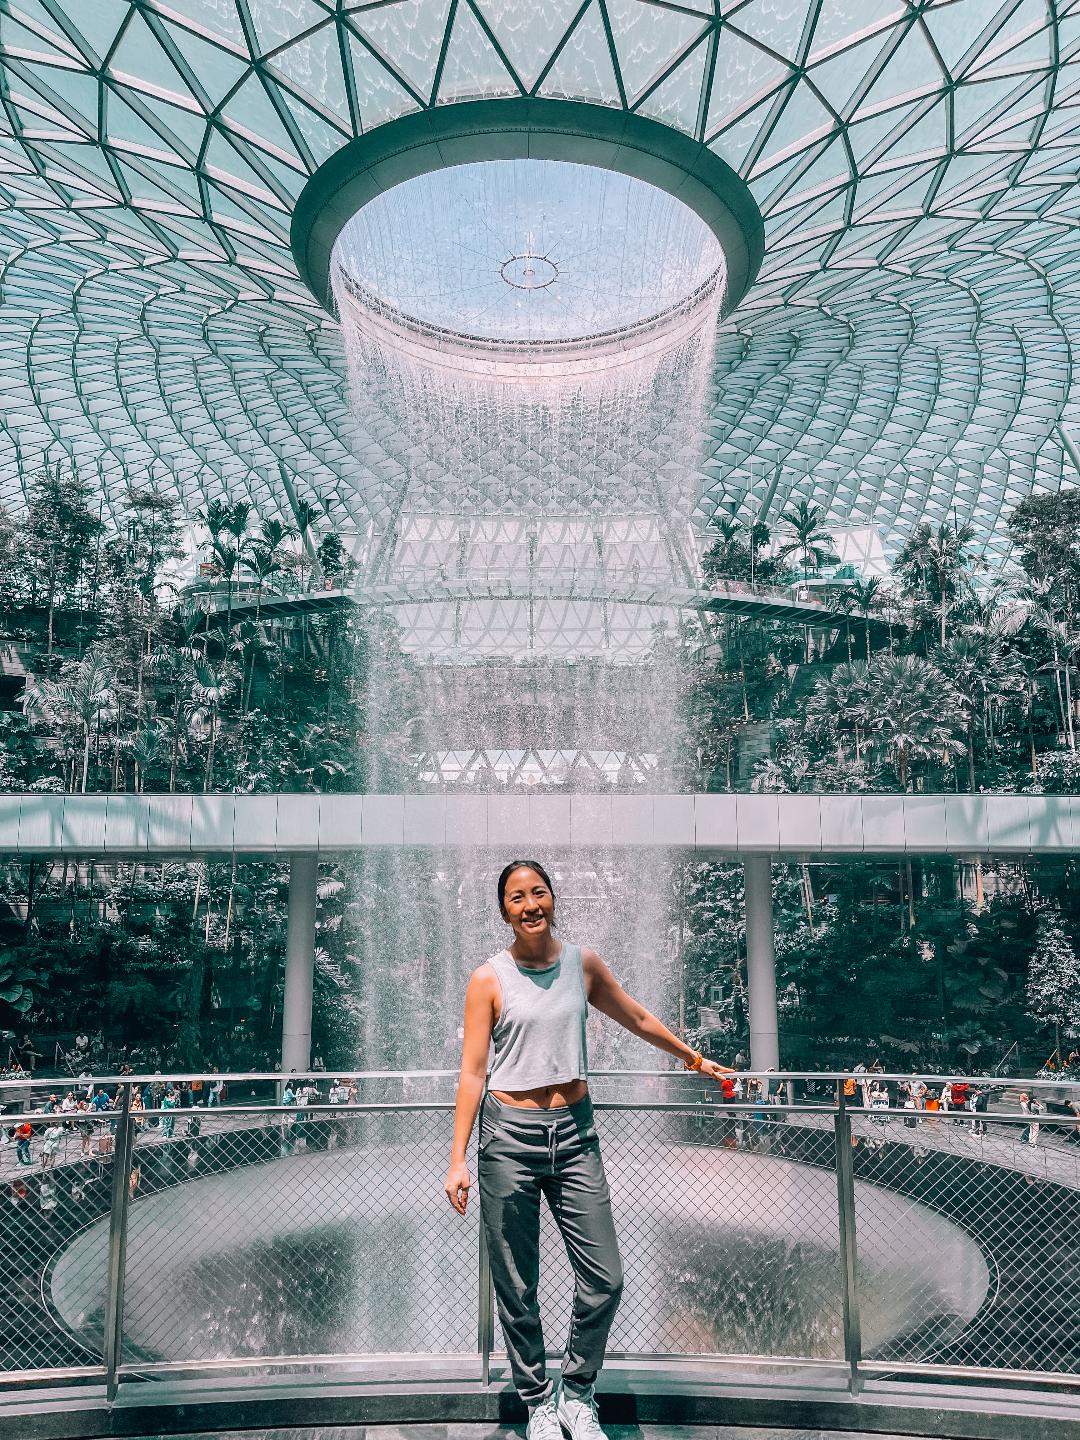
It took every ounce of my energy to say goodbye to Singapore. But I knew it was the right time.
By late July, I had faced some serious mental health challenges, constantly getting re-triggered and barely coping with cptsd symptoms. It was then that I finally decided to go on that year-long trip that I had been putting off.
Besides being emotionally exhausted, I somehow managed to start making arrangements. I sold whatever I could, packed up my things into boxes and put them in storage.
I rented out my apartment and bought my one-way ticket to Thailand.
I told my tutoring students that I wouldn’t be returning for the next year.
I made arrangements for my mail.
I booked my accommodation in Koh Samui.
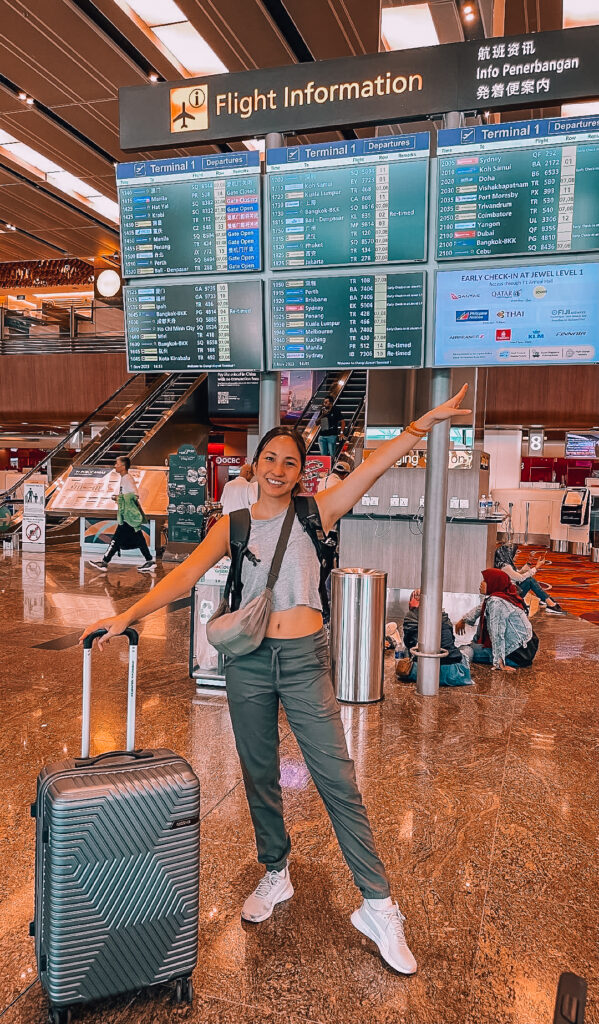
On November 1st, I left on the flight out of Singapore without any fanfare or stupid goodbyes. I hated all of that anyway.
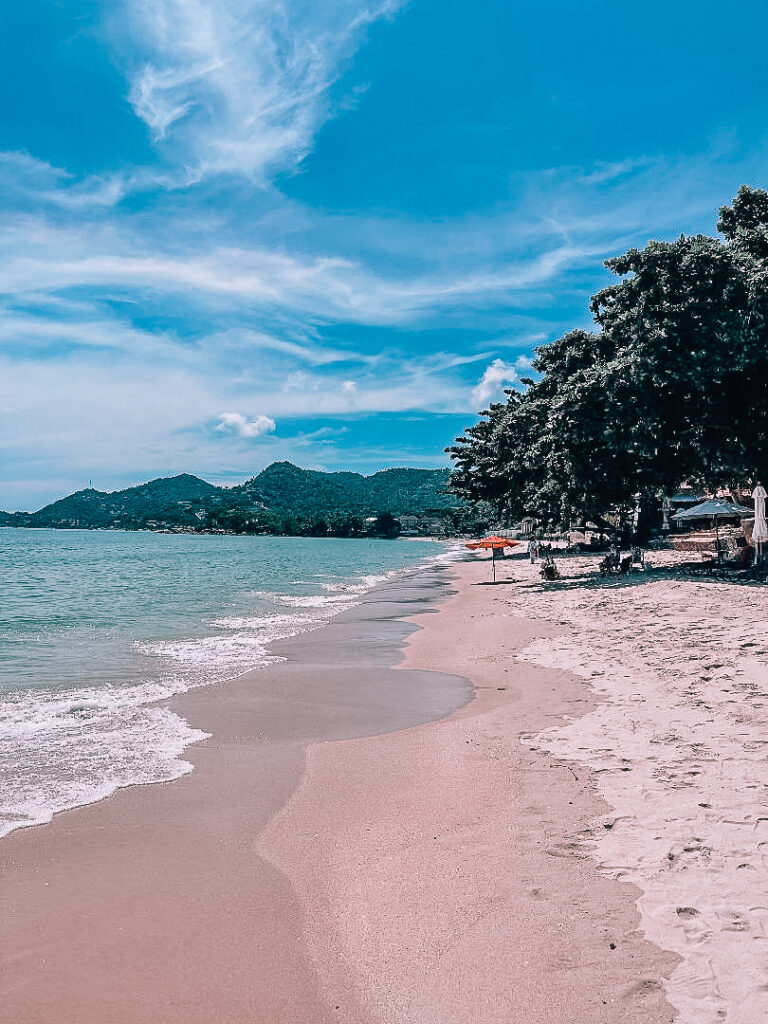
When I finally arrived in Koh Samui, it was like I could finally breathe again!
I think I cried my eyes out for the first week.
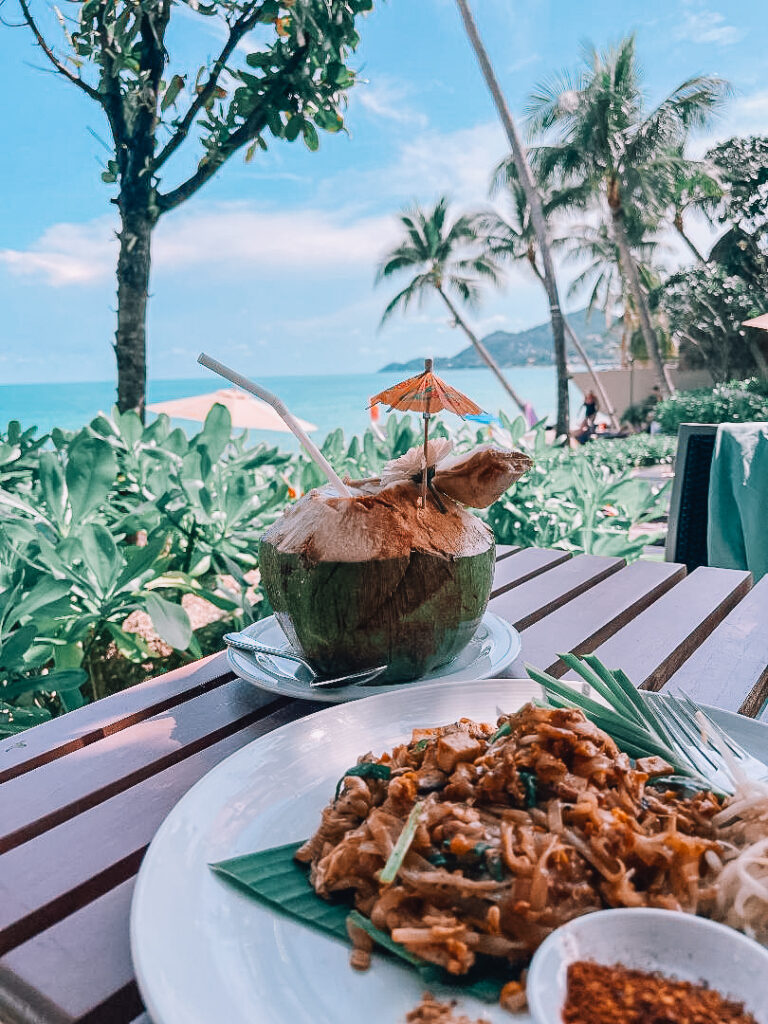
Slowly but surely, I got used to a routine, finding food, getting around by motorbike taxi, going to the supermarket and the beach, along with lots of journaling and self-reflection.
I was FINALLY FREE!!!!
I had a rough idea of a plan for the 12 months of travel, but the only fixed plan was to be in Peru by May for Machu Picchu.
The idea was this – 6 months in South East Asia, 6 months travelling elsewhere (mostly Latin America). I figured it would give me ample time to really sightsee and also keep costs down (by staying mostly in SE Asia). Plus I was already pretty familiar with solo travelling in South East Asia, so it would be easy enough.
This was also not my first rodeo in solo nomading. I already had done many month-long stints of solo travelling in Bali and Thailand, as well as visited most of the places with friends before. I knew what to expect.
TRAVEL LOGISTICS
As I was already a minimalist, I didn’t really have many possessions. For the most part, I sold off some old clothes and books, and kept the rest in storage. What I actually packed fit into a 20kg rolling suitcase and backpack – most of them just being clothes and my electronics. Other than a second hand iPhone for taking better videos and photographs, I didn’t have any fancy gear.
Travel Gear
Here’s what I bring on my travels:
Clothes for the season – mostly neutrals/basics, lots of sportswear, Uniqlo and Decathlon have been very practical for a traveller like me.
Swimwear
Water shoes
Hat
Towel
Compact puffer jacket – Uniqlo
Compact backpack – Decathlon
Several reusable bags
3 pairs of shoes – sneakers, sandals and 1 other pair of shoes
Vitamins
Toiletries
A book
Notebooks for journaling
Electronics – HD webcam, Atumtek tripod, my ASUS laptop, ipad and 2 phones (1 old phone that I used in South America for safety reasons and that houses my Singapore sim card, 1 iPhone that is e-sim and physical sim compatible)
I do recommend having 2 phones if you can. It is most likely that you will need to keep your local number from back home (for OTPs and other banking admin verification), having 1 phone dedicated to housing that was fantastic.
What has helped the most with packing were COMPRESSION PACKING CUBES. I believe I was able to fit more in my suitcase and they are very handy to organise my clothes as well. If you want to invest in a good set, I highly recommend them and they are not expensive.
For my luggage, I have an American Tourister rollie. It’s been great so far – no complaints! It is pretty lightweight and I keep my luggage below 20kg, which is probably the heaviest I can carry up and down stairs if I need to.
Travel budgeting
Setting my monthly budget for travelling and nomading was simple. I had a budget based on my rental income received per month. I tried my best to keep to this amount – with about ⅓ to ½ spent on accommodation and the rest spent on travelling and other expenses.
I used a simple method for keeping track of expenses. Mostly withdrawing about $1000 in cash to use each month (and to cut down on ATM fees) and used that to gauge how much I was spending per month.
After the first month of full-time nomading, it gave me a good idea of how much I was roughly spending on food and expenses. Going forward, it was easy to manage my expenditure especially on food, as I would adjust this amount by either eating out less or eating at cheaper places. I hardly spent much other money on souvenirs or shopping, and mostly only on travelling expenses – like tours, transport and sights.
Here are some of my expenses:
Accommodation – USD$ 1000/month or less
Food expenses – USD$20 per day or less
Tours – USD $400 per month or less

How to start nomading:
1. Start researching on the new destination. Pick the exact city/town and the neighbourhood. Usually, I stick to major hubs which are convenient and amenities are easier to be found and use that as a base. Researching about neighbourhoods is important, especially for safety as a solo traveller. Sometimes I post on the local nomad groups to help determine which places to stay at. Figure out visa information. Luckily, due to the Singaporean passport that I hold, it’s very easy for me to travel without any visa applications.
2. Book accommodation usually on Airbnb for the first 3-5 days and contact the host for more information. Sometimes, I will also book a few nights at a hotel, usually through Agoda or Booking.com.
My criteria for an apartment is – close to a supermarket, preferably has own laundry in the apartment or building, close to transport links, budget of about maximum $1000 USD or under, cleaning service, desk and proper chair to work on, furnished kitchen.
This is the most tedious part of the nomading journey, because the accommodation can make or break the trip. It has to be comfortable, convenient and safe. Once you have arrived, you look for a longer-term apartment (usually 1 month stay or longer) that you want to see in person, so you understand the neighbourhood, the management, safety and cleanliness of the place. It is very difficult to tell the condition of an apartment through photographs.
3. Do research on how to get money in the country, eg. withdrawal fees, currency exchange rate and other issues. You’d be surprised at how difficult or expensive getting cash is in some countries. I usually withdraw cash directly from the ATM and just pay ATM fees.
4. Buy a temporary e-sim, so that I can use the internet to find my accommodation and get around for the first week. I often use Airalo for the convenience. After that, I start searching for a local sim card, as they are cheaper for long stays. Most e-sims don’t go past 30 days and they’re more expensive than local sim cards.
5. Screenshot all important information before arriving at the destination – Transport to accommodation, accommodation address, visa information, information about how to get money.
6. Book flight into destination. I search on Google flights or maybe Skycanner for the best prices and timings, and usually fly mid-week. I often try not to land too late at night, unless I’m super familiar with the destination. You will avoid peak traffic hours and travel during the day which is always safer.
7. Finalise and proceed to travel according to your plan.
